Connecting Salesforce to AccountAim
AccountAim's integration with Salesforce allows you to easily import data from your Salesforce account to use in AccountAim to improve account targeting, recarve territories, and ensure your sales process is being followed in real-time.
In this guide, you'll learn how to connect Salesforce to AccountAim.
Integration Overview
AccountAim's integration with Salesforce is a two-way sync via the Salesforce API. By default, the sync is set to be read-only. Only a single AccountAim Admin needs to authenticate in order to set up the integration.
User Permissions
It is recommended that the Admin authenticating to AccountAim has the System Administrator permission set. Alternatively, the following permissions will be required:
- Accounts - Read access
- Contacts - Read access
- Leads - Read access
- Opportunities - Read access
- Cases - Read access (if syncing case data)
- Custom Objects - Read access (for any custom objects you'll be importing)
You may also need similar permissions for any additional objects you'll be importing in AccountAim.
For security best practices, consider creating a dedicated Salesforce user specifically for AccountAim with only the minimum required permissions. This user should have API access enabled.
Sync Schedule
Customers have the ability to set the sync frequency in AccountAim in order to control API usage. For details on Salesforce's API usage guidelines, please visit Salesforce's website.
By default, automatic syncing is enabled. Manual syncing can be enabled by navigating to the Settings page in the AccountAim app.
Supported Objects
AccountAim currently supports the ability to import data from the following Salesforce objects:
- Accounts: Account records and information
- Contacts: Contact records associated with accounts
- Leads: Lead records and lead qualification data
- Opportunities: Sales opportunities and pipeline data
- Opportunity Products: Opportunity line items and products
- Cases: Support case records (if your Salesforce org includes Service Cloud)
- Tasks: Task records and activities
- Events: Calendar events and meetings
- Campaigns: Marketing campaign records
- Campaign Members: Campaign member associations
- Custom Objects: Custom object records (if configured and accessible)
How to connect Salesforce
To connect Salesforce to your AccountAim workspace, navigate to the Warehouse section and click "Add New" to add a new data source.
Step 1: Select Salesforce as your Source
In the "Add New Record Source" modal, select "Salesforce" as your data source type.
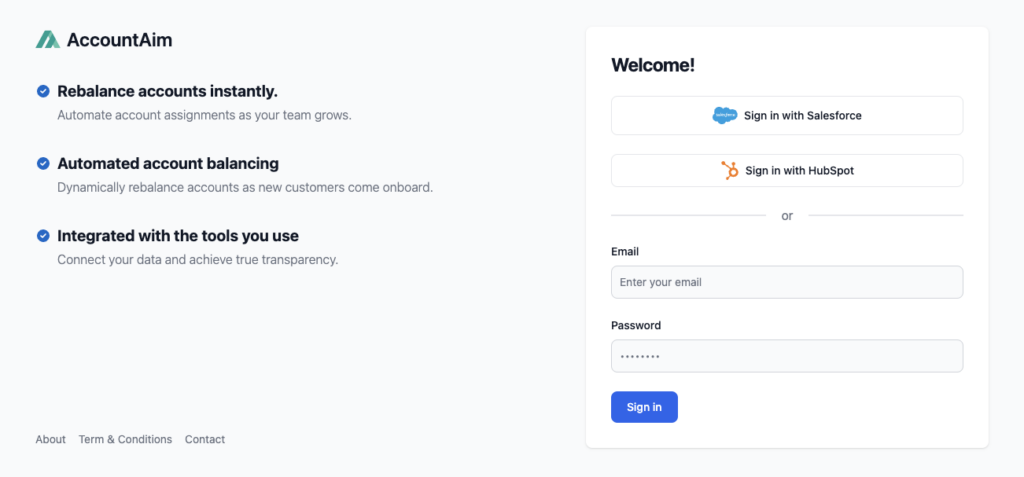
Step 2: Authenticate
Upon clicking 'Connect', you'll be automatically redirected to Salesforce where you'll need to login and authenticate to your Salesforce account and grant the AccountAim application access to your Salesforce org. After logging in, you'll be automatically redirected back to AccountAim.
Select Salesforce Account:
Connect AccountAim account to Salesforce:

Grant Permissions
Review and confirm AccountAim permissions. The AccountAim application will request access to read your Salesforce data. Permissions can be updated anytime in the Settings tab within the AccountAim app.
If you're connecting to a Salesforce sandbox for testing, make sure to select the sandbox option during the authentication process. You can find sandbox login URLs in your Salesforce setup under Deploy → Sandboxes.
Step 3: Configure Sync Settings
After a successful connection, configure your sync settings:
- Sync Frequency: Choose how often AccountAim should sync data from Salesforce
- Options: Manual, Hourly, Daily, Weekly
- Objects to Sync: Select which Salesforce objects you want to sync
- Sync Mode: Choose between full sync or incremental sync (if supported)
- Date Range Filters: Configure date filters for time-sensitive objects like opportunities and cases
- Write Permissions: Enable write capabilities for specific objects (if you want AccountAim to write data back to Salesforce)
- Toggle write access on/off for each object type
- Write access requires appropriate permissions in Salesforce
Step 4: Complete Setup
Click "Save" to complete the Salesforce connection setup. AccountAim will perform an initial sync to import your selected data.
Write Capabilities
AccountAim supports writing data back to Salesforce for the following objects (when write permissions are enabled):
- Accounts: Update account information and custom fields
- Contacts: Create new contacts or update existing contact records
- Leads: Create new leads or update lead qualification status
- Opportunities: Create new opportunities or update opportunity stages and details
- Cases: Create new support cases or update case status and details
- Tasks: Create task records
- Events: Create calendar events
Before enabling write capabilities, ensure you understand the impact of data being written back to Salesforce. Salesforce has validation rules, workflows, and triggers that may affect data writes. It's recommended to test write operations in a sandbox environment first, or start with read-only access and enable writes gradually for specific objects.
Best Practices
- Use Dedicated User: Create a dedicated Salesforce user for AccountAim with minimal required permissions
- Start with Read-Only: Begin with read-only access and enable writes only after testing and validation
- Use Sandbox for Testing: Test integrations and write operations in a Salesforce sandbox before enabling in production
- Selective Syncing: Only sync the objects you actually need in AccountAim to reduce API usage
- Date Range Filters: Use date range filters for time-sensitive objects like opportunities and cases to limit data volume
- Monitor API Usage: Keep an eye on your Salesforce API usage and adjust sync frequency as needed
- Incremental Syncs: Use incremental syncs when available to reduce API calls and improve performance
- Secure Credentials: Never share your Salesforce credentials publicly
- Test Writes Carefully: If using write capabilities, test thoroughly in a sandbox environment first
- Field Mapping: Review and configure field mappings before enabling writes to ensure data integrity
Troubleshooting
Connection Issues
If you're experiencing connection problems:
- Verify your Salesforce credentials are correct
- Ensure your Salesforce user has API access enabled
- Check that your Salesforce org is not in maintenance mode
- Verify you have the required permissions on the objects you're trying to sync
- If using OAuth, ensure the connected app settings are correct
Sync Issues
If data isn't syncing properly:
- Verify the Salesforce user has read permissions on the objects you're trying to sync
- Check that the objects exist and are accessible in Salesforce
- Review sync logs in AccountAim for specific error messages
- Ensure you haven't exceeded Salesforce API rate limits
- Check for any data type or field mapping issues
- Verify custom fields are accessible if you're syncing custom objects
API Rate Limits
If you're hitting API rate limits:
- Reduce sync frequency for large objects
- Use date range filters to limit the amount of data synced
- Consider syncing different objects at different intervals
- Review your Salesforce edition and API limits
- Contact Salesforce support to discuss API rate limit increases if needed
Write Issues
If writes are failing:
- Verify the Salesforce user has write permissions on the objects you're trying to update
- Check for required fields that must be populated
- Review Salesforce validation rules that may block writes
- Ensure custom fields are writable if you're updating custom fields
- Check for workflows or triggers that may affect writes
- Review error messages in AccountAim's sync logs for specific issues
For additional support, contact AccountAim support.